On this page
If your New Orleans roof is leaking and the shingles look fine, the flashing is the first place to look.
Flashing is the metal that seals the joins: where the roof meets a chimney, a wall, a vent pipe, or another roof plane. It is not glamorous and it is not expensive, and it causes more leaks in this city than any other single part of a roof.
Key Takeaways
- Make sure to always check out your roof first to evaluate damage. For safety and effectiveness, schedule repairs in calm, dry weather.
- Take safety measures also — install a harness, non-slip footwear, and a reliable ladder.
- Collect essential tools like a pry bar, caulking gun, and roofing cement.
- Select sealants and flashing suitable for your roof and area.
- Practice good repair techniques: tear off the old flashing, clean and prepare the surface, put in the new flashing, and seal the edges to create a watertight seal.
Why Flashing Fails Faster Here
Sideways rain. Storm wind drives water at the flashing from angles it was never designed to shed. A detail that works in vertical rain can fail badly in a tropical storm.
Salt air. Metal corrodes faster near the lake and the Gulf. Older galvanized flashing on homes closer to the water gives out sooner than the same metal would inland.
Thermal movement. Summer heat expands metal, night cools it, and the cycle repeats all year. Fasteners loosen and sealed joints open. In a climate with a long, hot season this happens more times per year than it does further north.
Old chimneys. New Orleans has a lot of them. Masonry that has moved over a century puts flashing under stress no flashing detail was designed for.
Your Pre-Repair Checklist
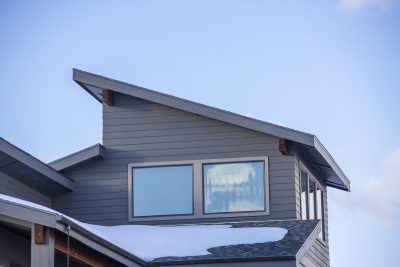
Before you even begin work on roof flashing repairs, preparation is indispensable. That means, in short, a pre-repair checklist assists you in finding the trouble spots, working safely, and making no mistakes. Here’s what to cover:
-
Safety First
Repairing a roof is dangerous. Start with a firm ladder on solid ground, supported. Use non-slip shoes, gloves, and a safety harness to prevent falling. Watch the weather reports—never work when it’s raining or extremely windy because wet surfaces heighten the accident possibilities. Always have a buddy puller or spotter around to give you a hand or summon help.
-
Tool Arsenal
Gather all required tools in advance. A pry bar, hammer, and caulking gun — for prying up damaged flashing and affixing replacements. Roofing nails and tar-resistant roofing cement should be readily available. Utilize the utility knife for trimming and the tin snips for cutting metal flashing. Check tools for wear or damage to prevent delay or accidents mid-repair.
-
Material Selection
With the right materials, roof flashing is guaranteed to last. Select flashing appropriate to your roof—aluminum and galvanized steel are typical, with copper fitting upscale roofing. Apply weather-resistant sealants or heat and moisture-expansion and contraction-resistant roofing cement. In case of broken shingles around the flashing, be sure to replace them with quality shingles to maintain an even appearance and extended lifespan.
-
Code Compliance
Correct flashing installation should adhere to local building codes. Here’s a quick reference:
| Requirement | Description |
| Overlap Specifications | Flashing must overlap by at least 10 cm. |
| Approved Sealants | Use region-specific approved materials. |
| Installation Guidelines | Follow the manufacturer’s instructions for best results. |
Consult these codes to be sure your repairs are up to code. Blunders will mean fines or deeper fixes down the road.
Repair or Replace the Flashing
Repair makes sense when the metal is sound and a sealed joint has opened, or a few fasteners have backed out, and the roof around it has plenty of life left.
Replacement makes sense when the metal is corroded through, when the flashing was installed wrong in the first place, or when you are replacing the roof anyway. Reusing old flashing under a new roof is a false economy that shows up as a leak in year two.
One local note. If the house is in an HDLC district, exterior work on a visible chimney or roof detail may need review before it happens. Ask before the crew arrives rather than after.
Commission which categories of roof and chimney work require review, so this sentence is precise rather than general.
How to Repair Roof Flashing
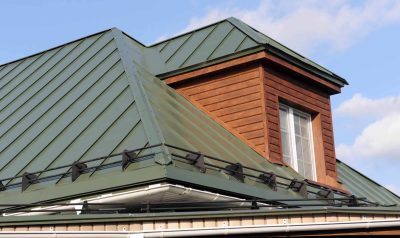
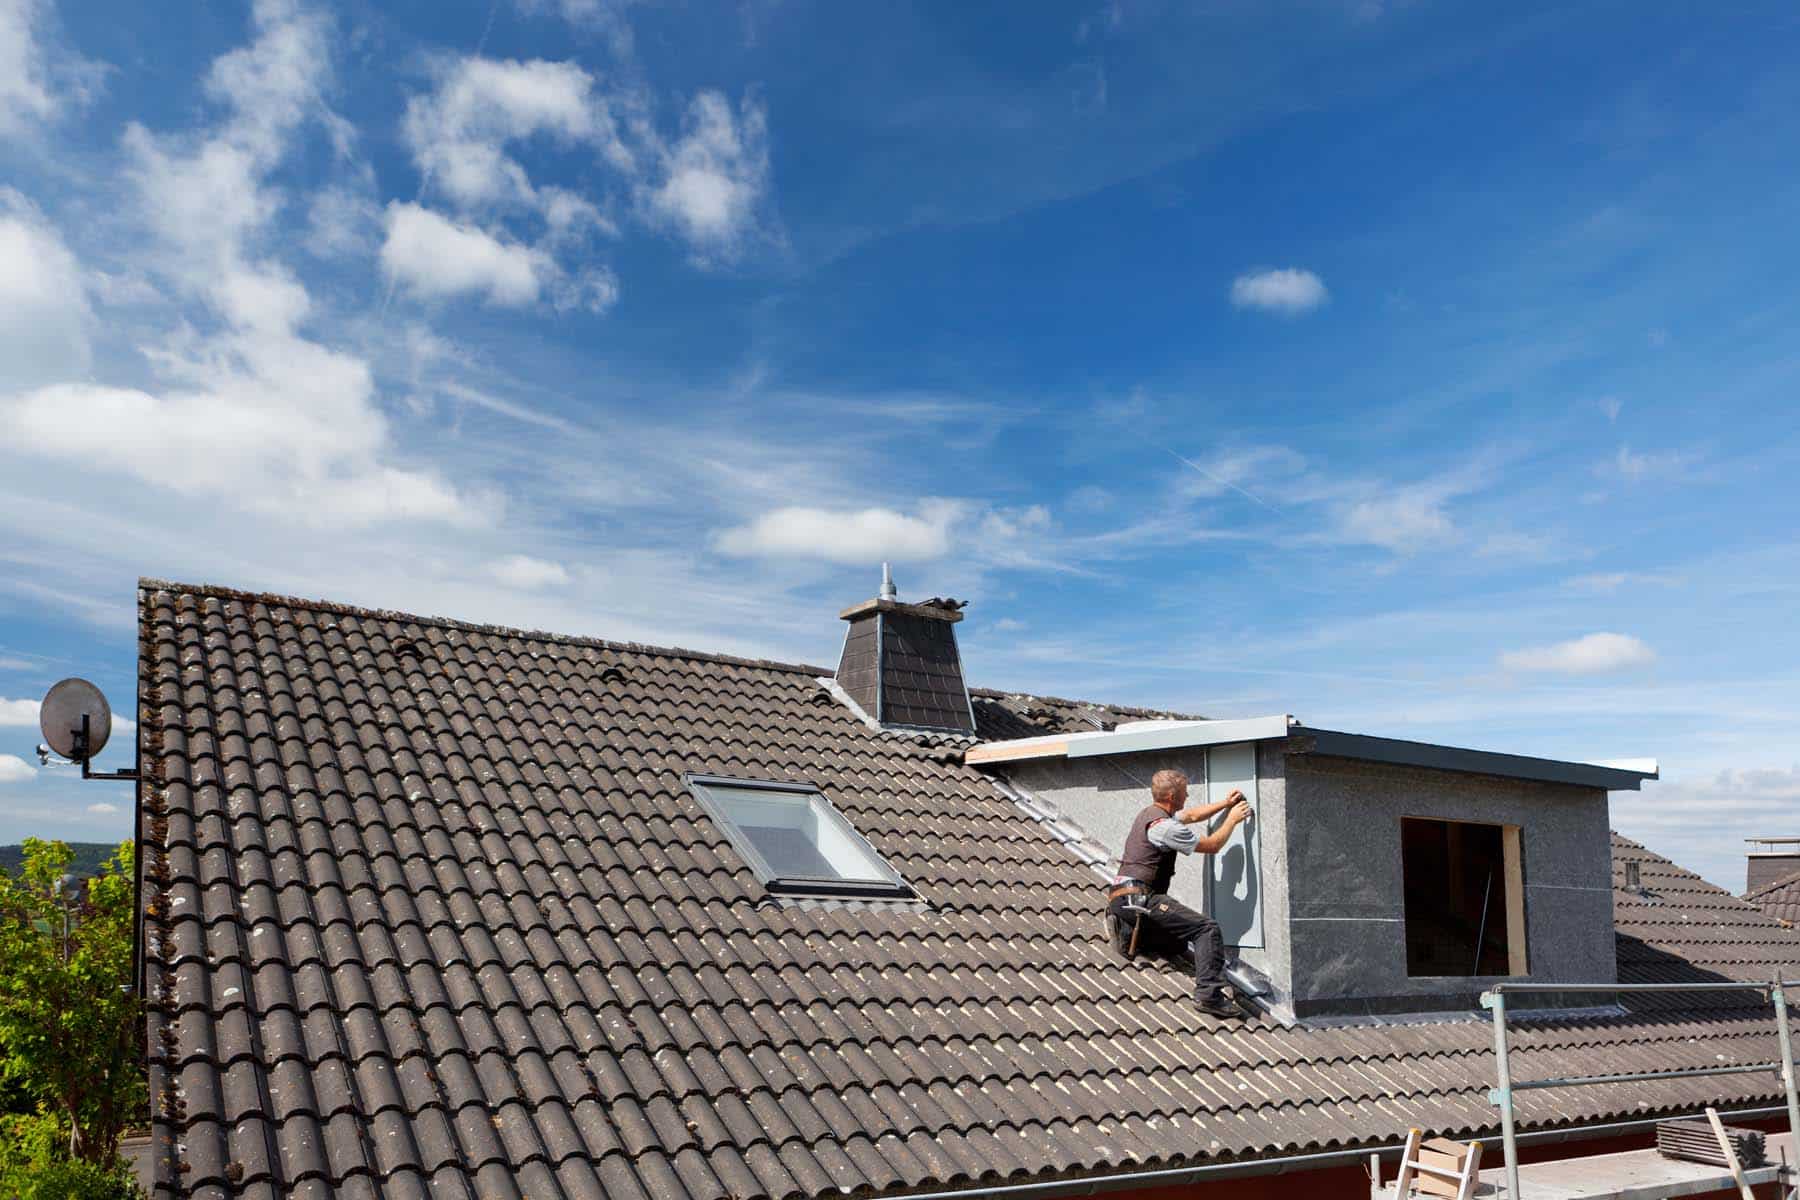
Roof flashing plays a vital role in protecting weak areas on your roof — such as chimneys, skylights, and valleys — from water entry. Faulty flashing can lead to structural failure and costly repairs. Let’s dive into a step-by-step analysis to repair roof flashing.
1. Expose Damage
Tear away shingles and gravel covering the flashing so that you can get to the damaged area. Check both the flashing and nearby materials for concealed problems, like cracked shingles or wood rot. Pinpointing the underlying culprit—be it faulty installation, rust, or storm damage—is critical. Snap some good photos of the damage for reference before you begin repairs.
2. Remove Old Flashing
Take out the old flashing, taking care not to tear off adjacent shingles or blockage material. Rusted or damaged components need to be recycled.
3. Prepare the Surface
Even off the surface for good adhesion of your new flashing. Remove old roofing cement or sealant, and inspect the roof deck for damage like rot or weakness. If desired, apply a primer to promote adhesion between the flashing and the roof.
4. Install New Flashing
Trim the new flashing to size, extending it at least 4 inches past the damaged area. Lay it down in place along the roofline, overlapping so it diverts water. Nail the flashing, then re-check alignment to ensure it’s water-tight.
5. Seal and Secure
Apply roofing cement or sealant along flashing edges, forcing it firmly to seal tightly. Replace shingles to restore the roof’s appearance and inspect for gaps. Half-yearly maintenance avoids most issues in the future.
Leak Near a Chimney or Wall? Probably Flashing
We find the entry point, show you what failed, and fix the cause rather than the stain.
New Orleans, Metairie, Kenner, Slidell, Covington, Mandeville, Gretna, Harahan, LaPlace, River Ridge, St. Rose, Madisonville, Hammond and Baton Rouge. Louisiana Residential License #890459. Commercial License #3667.
Call (504) 226-7070.
Roof Flashing FAQs for New Orleans Homes
How do I know if it is the flashing leaking?
Interior stains near a chimney, an interior wall, or a bathroom vent usually point at flashing rather than the field of the roof.
How much does flashing repair cost in New Orleans?
It depends on the location and how much decking underneath got wet. Flashing itself is one of the cheaper roof repairs, which is why finding it early matters.
Should flashing be replaced with a new roof?
Yes. Reusing old flashing under new shingles is one of the most common shortcuts, and it is the reason some new roofs leak within a couple of years.
What is step flashing and why does it matter here?
Step flashing is the series of overlapping metal pieces where a roof slope meets a wall. Each piece sheds water onto the one below. Done as one long strip instead, it fails in wind-driven rain, which is exactly the rain New Orleans gets in a storm.
How long does flashing last in New Orleans?
Less than the roof it protects, particularly closer to the lake and the Gulf where salt air speeds up corrosion. Flashing is worth checking at every inspection rather than assuming it lasts as long as the shingles above it.